Quickstart
You are setting up CloudYali for your team. In about 15 minutes you will have an account, one AWS account connected read-only and a teammate invited; your costs fill in as AWS delivers its next bill.
You will use: Integrations · Dashboard · Settings Time: about 15 minutes, then up to two days for cost data
1. Create your account
- Go to console.cloudyali.io/signup.
- Enter your Full name, Work email and a Password.
- Select Create account. CloudYali emails you a confirmation code.
- Enter the code under Confirmation code. You are signed in to the console.
2. Connect your first provider
Start with the cloud that holds most of your spend. This example connects one AWS account; Microsoft Azure, Google Cloud and the AI tools follow the same pattern from the same page.
-
In the console, open Integrations.
-
On the AWS card, select Connect.
-
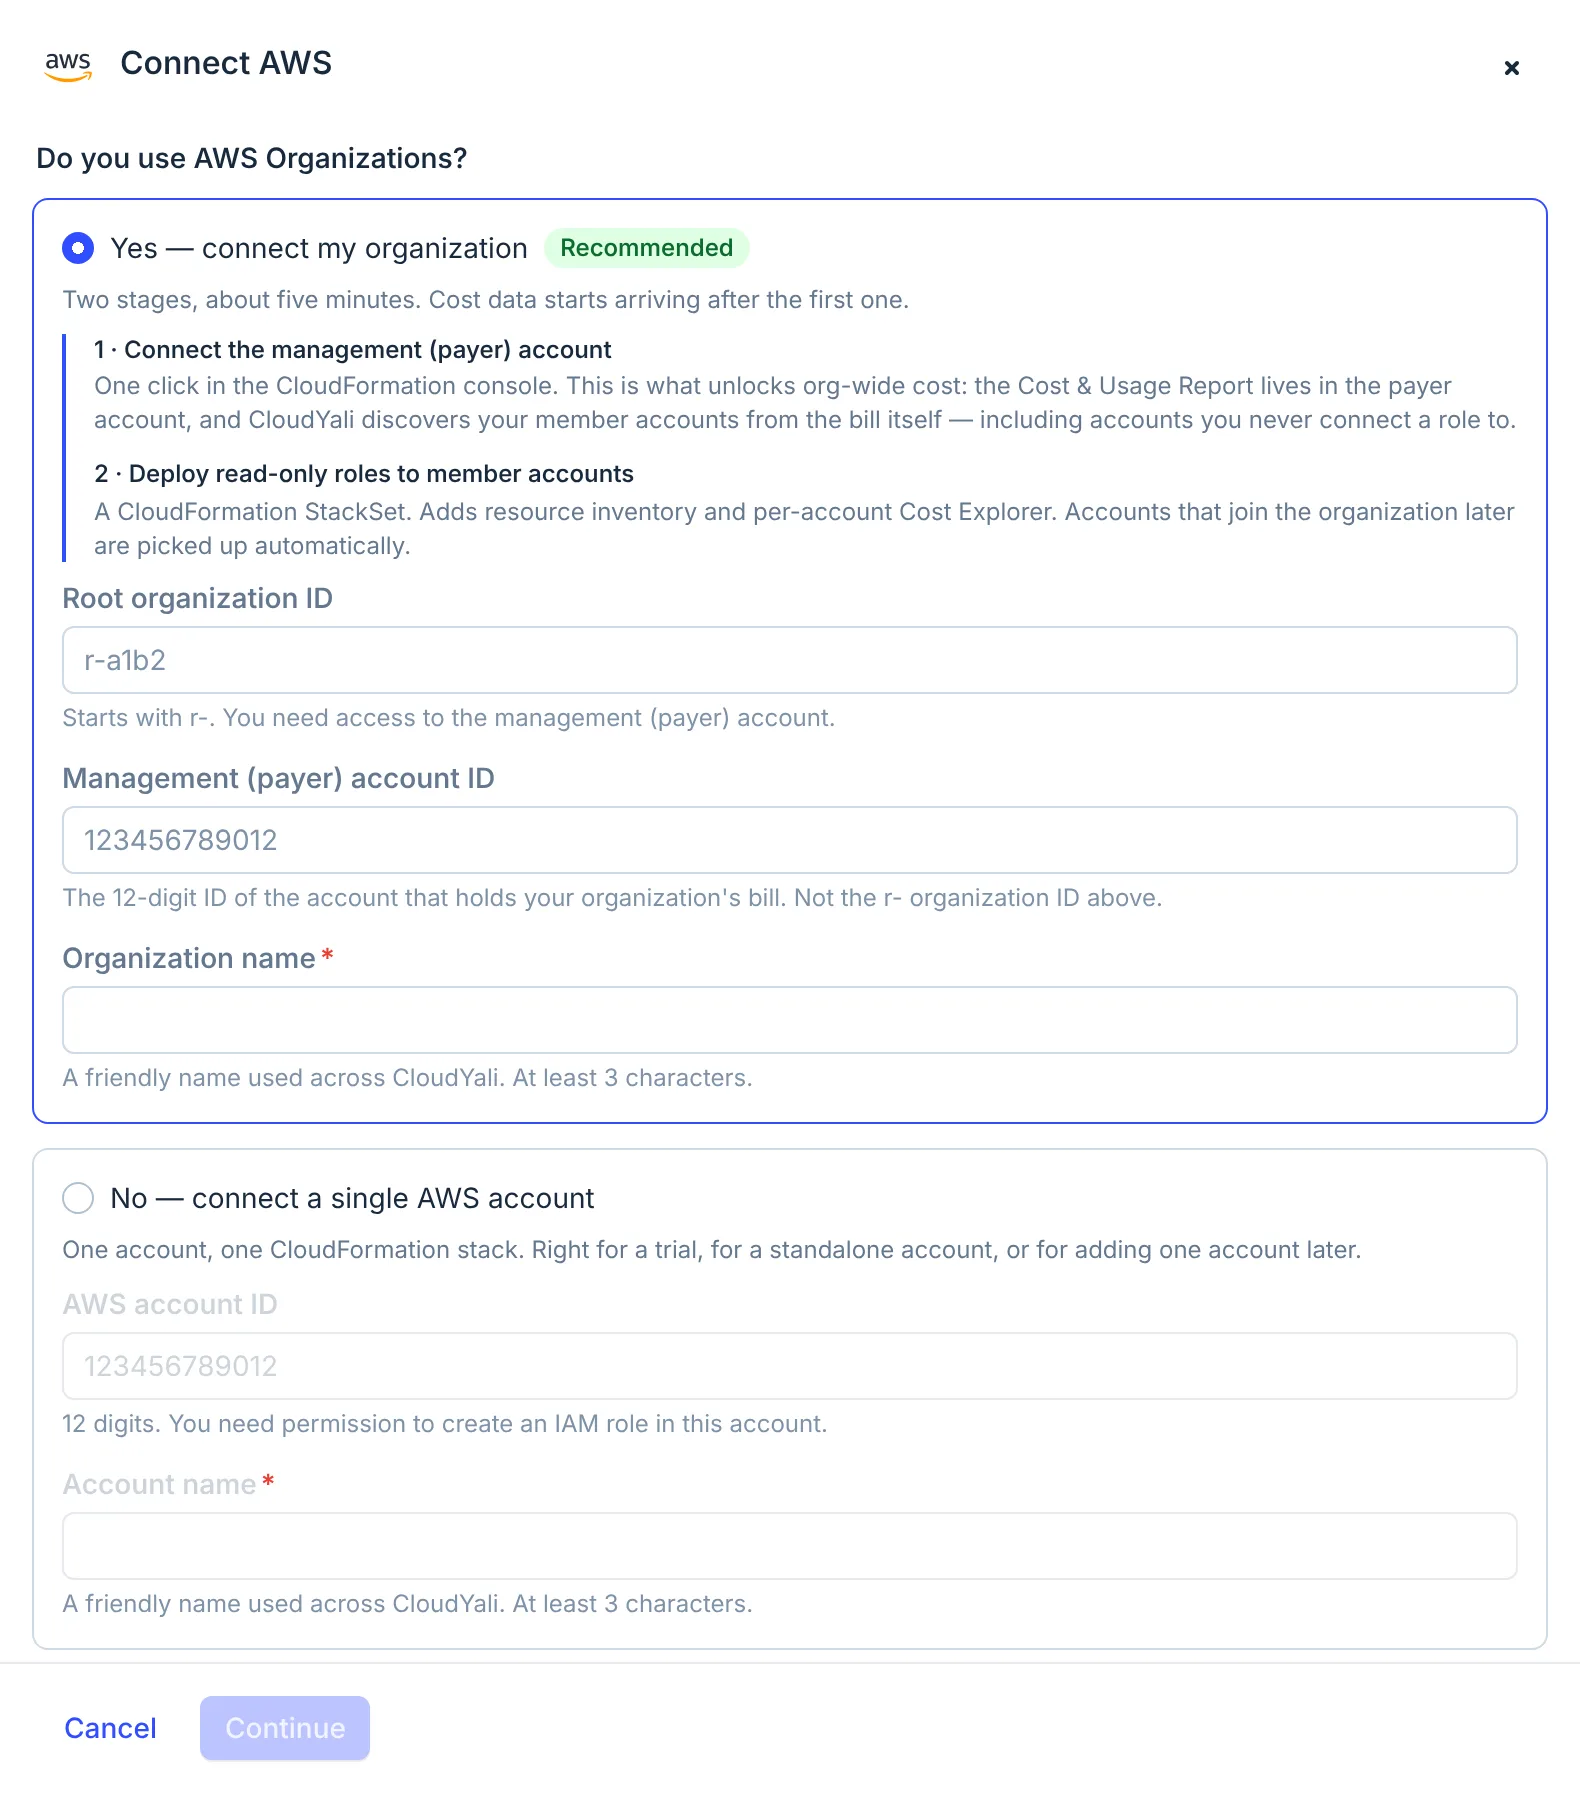
Choose how to connect:
- Yes — connect my organization if you use AWS Organizations. It connects the management (payer) account first, which brings in cost for every member account, then deploys CloudYali's read-only role to the member accounts.
- No — connect a single AWS account for a trial or a standalone account.
- Organization
- Single account
-
For a single account, enter the 12-digit AWS account ID and an Account name, then select Continue.
-
Select Open in AWS Console. AWS opens CloudFormation with CloudYali's stack and its external ID already filled in. Create the stack.
-
Back in CloudYali, select I've created the stack. CloudYali checks the role, which usually takes under two minutes.
You need permission to create IAM roles, an S3 bucket and a Cost & Usage Report in the account. The role is read-only; every action it carries is on AWS permissions.
3. See your costs
Resources appear first. AWS delivers the first Cost & Usage Report within 24 hours, and CloudYali reads it in its next daily run, so cost data appears within two days.
When the first bill has arrived, open Dashboard. It shows spend across your providers for the last 30 days, this month's spend against the same days last month, anomalies, open savings and the cost of each provider by day. See Dashboard.
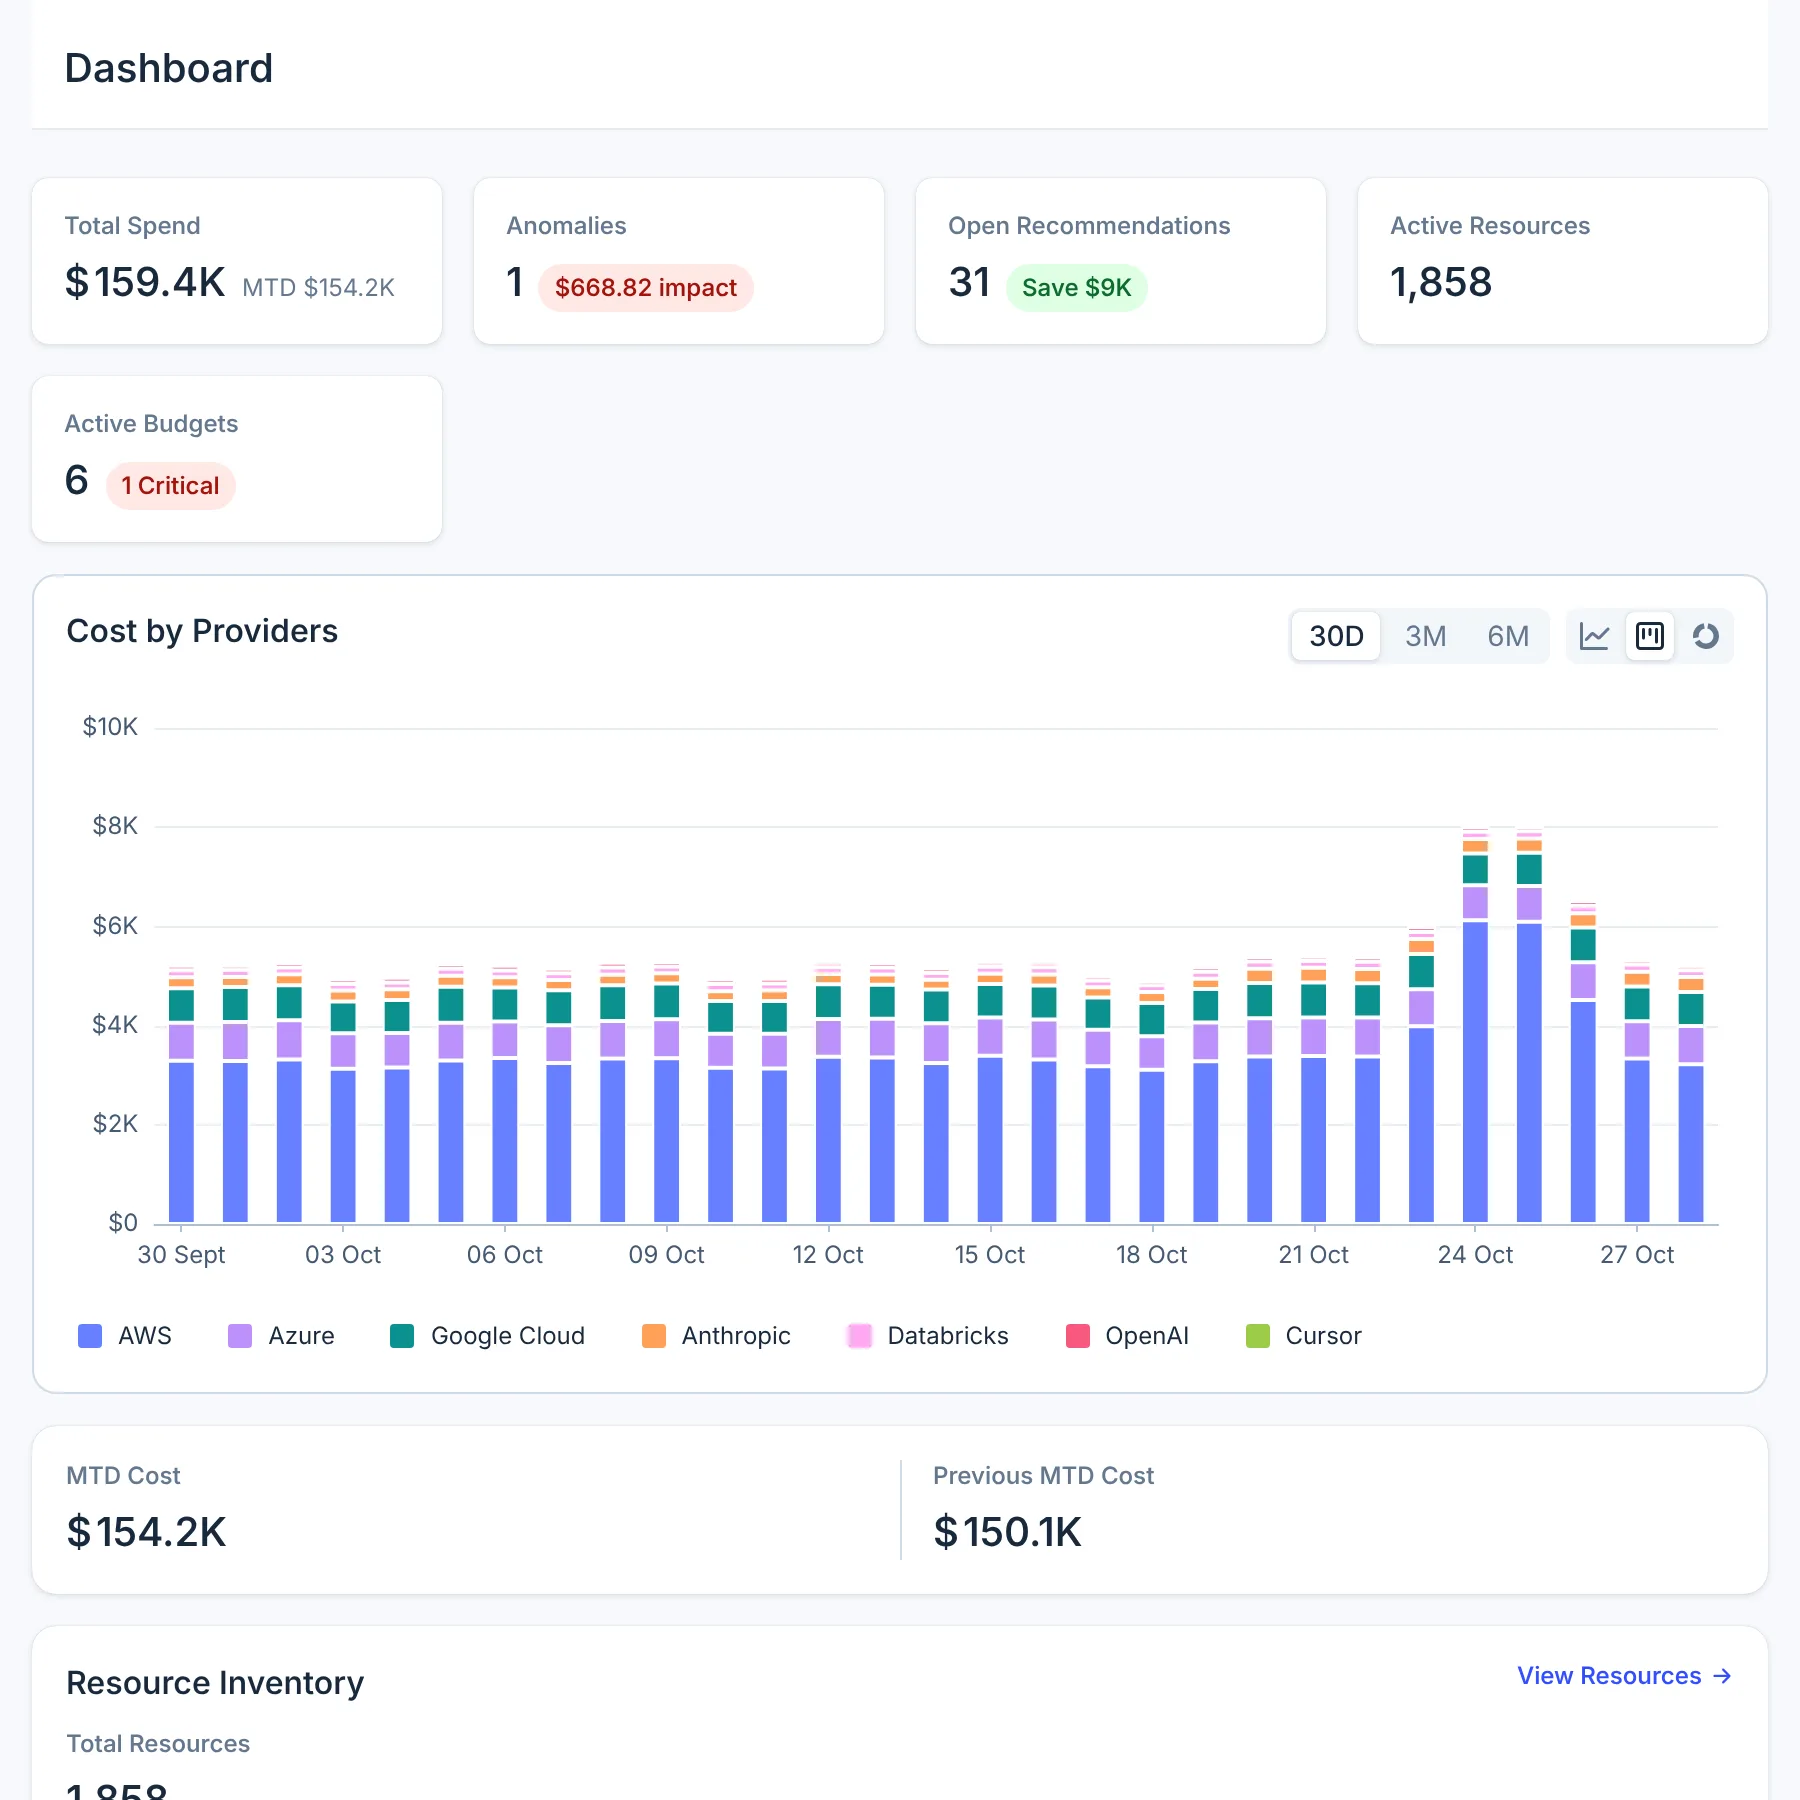
To see what is behind any number, open Cost Explorer and group by service or account.
4. Invite a teammate
Teammates see the same data under their own sign-in. Only an owner or an admin can invite.
- Open Settings.
- Select Invite user.
- Enter their Email address and choose a Role:
- Admin can manage users and configure integrations.
- User can view data but cannot manage users or integrations.
- Select Send invitation.
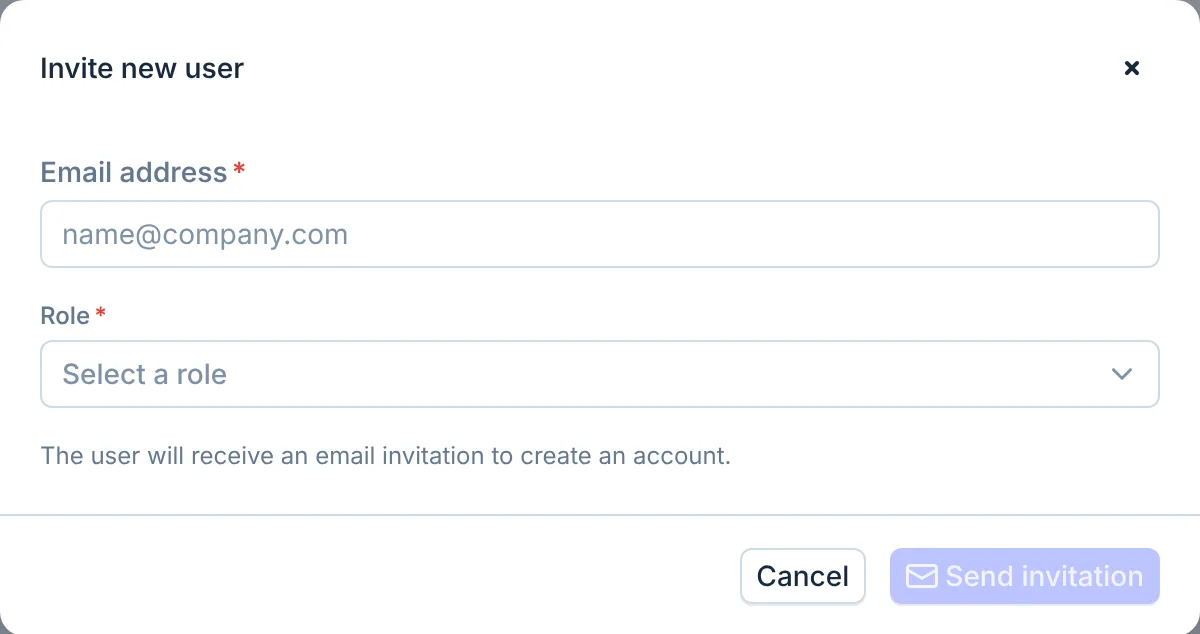
The teammate receives an email to create an account. They show as Pending in the team list until they sign up.
What you have now
- An account, with you as its owner
- One AWS account connected read-only, with resources soon and cost data within two days
- A teammate invited
Next
- Connect the rest of your sources from Integrations: Azure, Google Cloud, Anthropic, OpenAI, Cursor, Databricks and Fastly.
- Learn the console in Navigate the console.
- Set a limit with alerts in Budgets.