Configuring Azure Cost Management Exports
This guide walks you through setting up Cost Management Exports in Azure. CloudYali requires daily cost exports to analyze your spending and provide cost insights.
Overview
To enable cost tracking in CloudYali, you need to:
- ✅ Create an Azure Storage Account (if you don't have one)
- ✅ Create a Blob container for cost exports
- ✅ Configure a Cost Management Export with daily schedule
- ✅ Grant your Service Principal access to the storage account
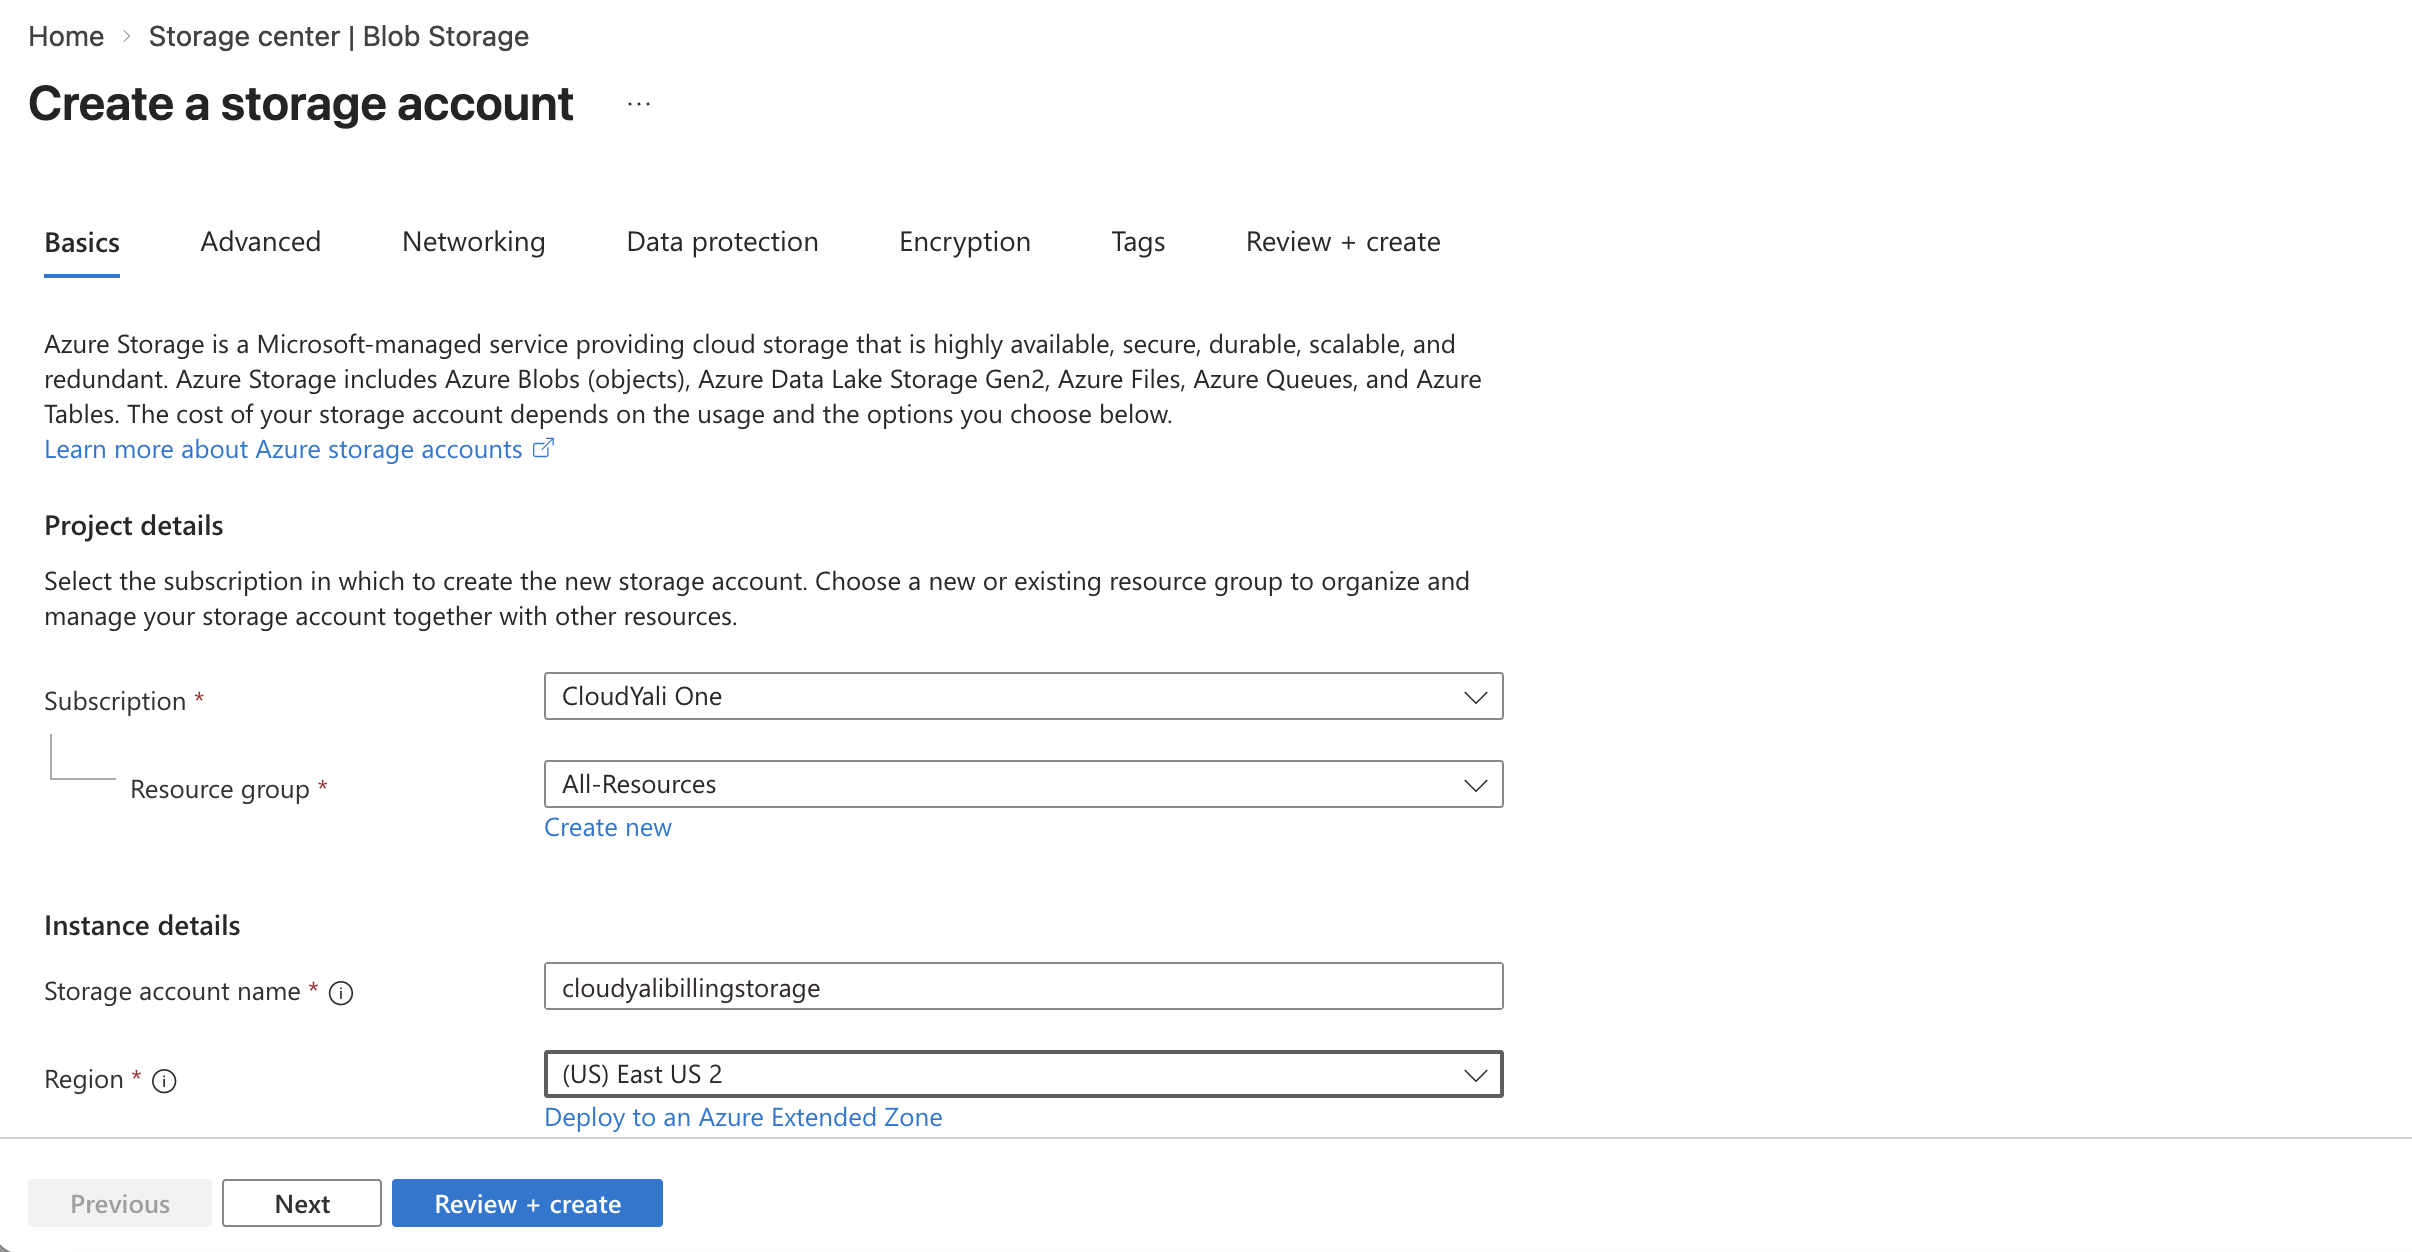
Step 1: Create Storage Account
Using Azure Portal:
- Go to Azure Portal → Storage accounts
- Click + Create
- Fill in the form:
- Resource group: Select existing or create new (e.g.,
cloudyali-exports) - Storage account name:
cloudyalicosts{yourname}(must be globally unique, lowercase only) - Region: Same as your primary resources
- Performance: Standard
- Redundancy: Locally-redundant storage (LRS)
- Resource group: Select existing or create new (e.g.,
- Click Review + Create → Create
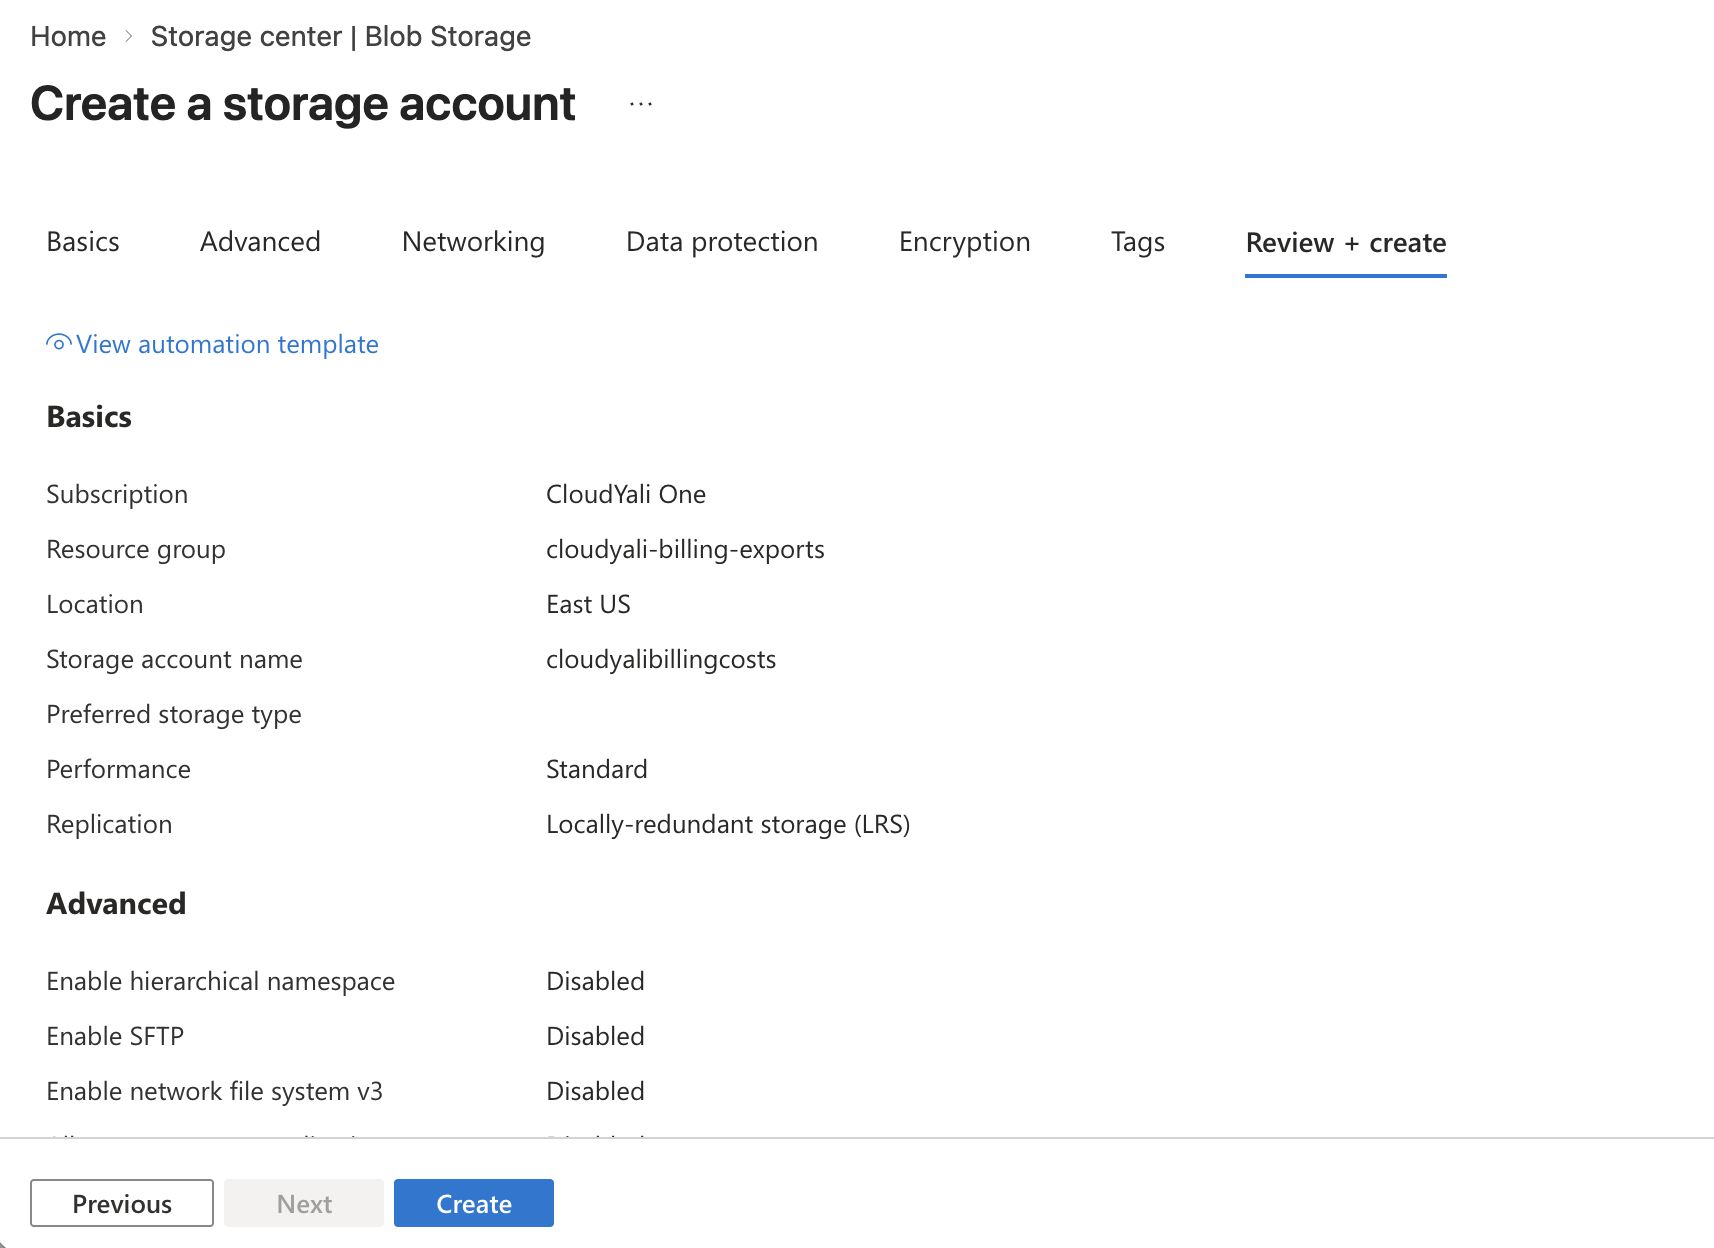
After creation, the storage account overview shows your account details:
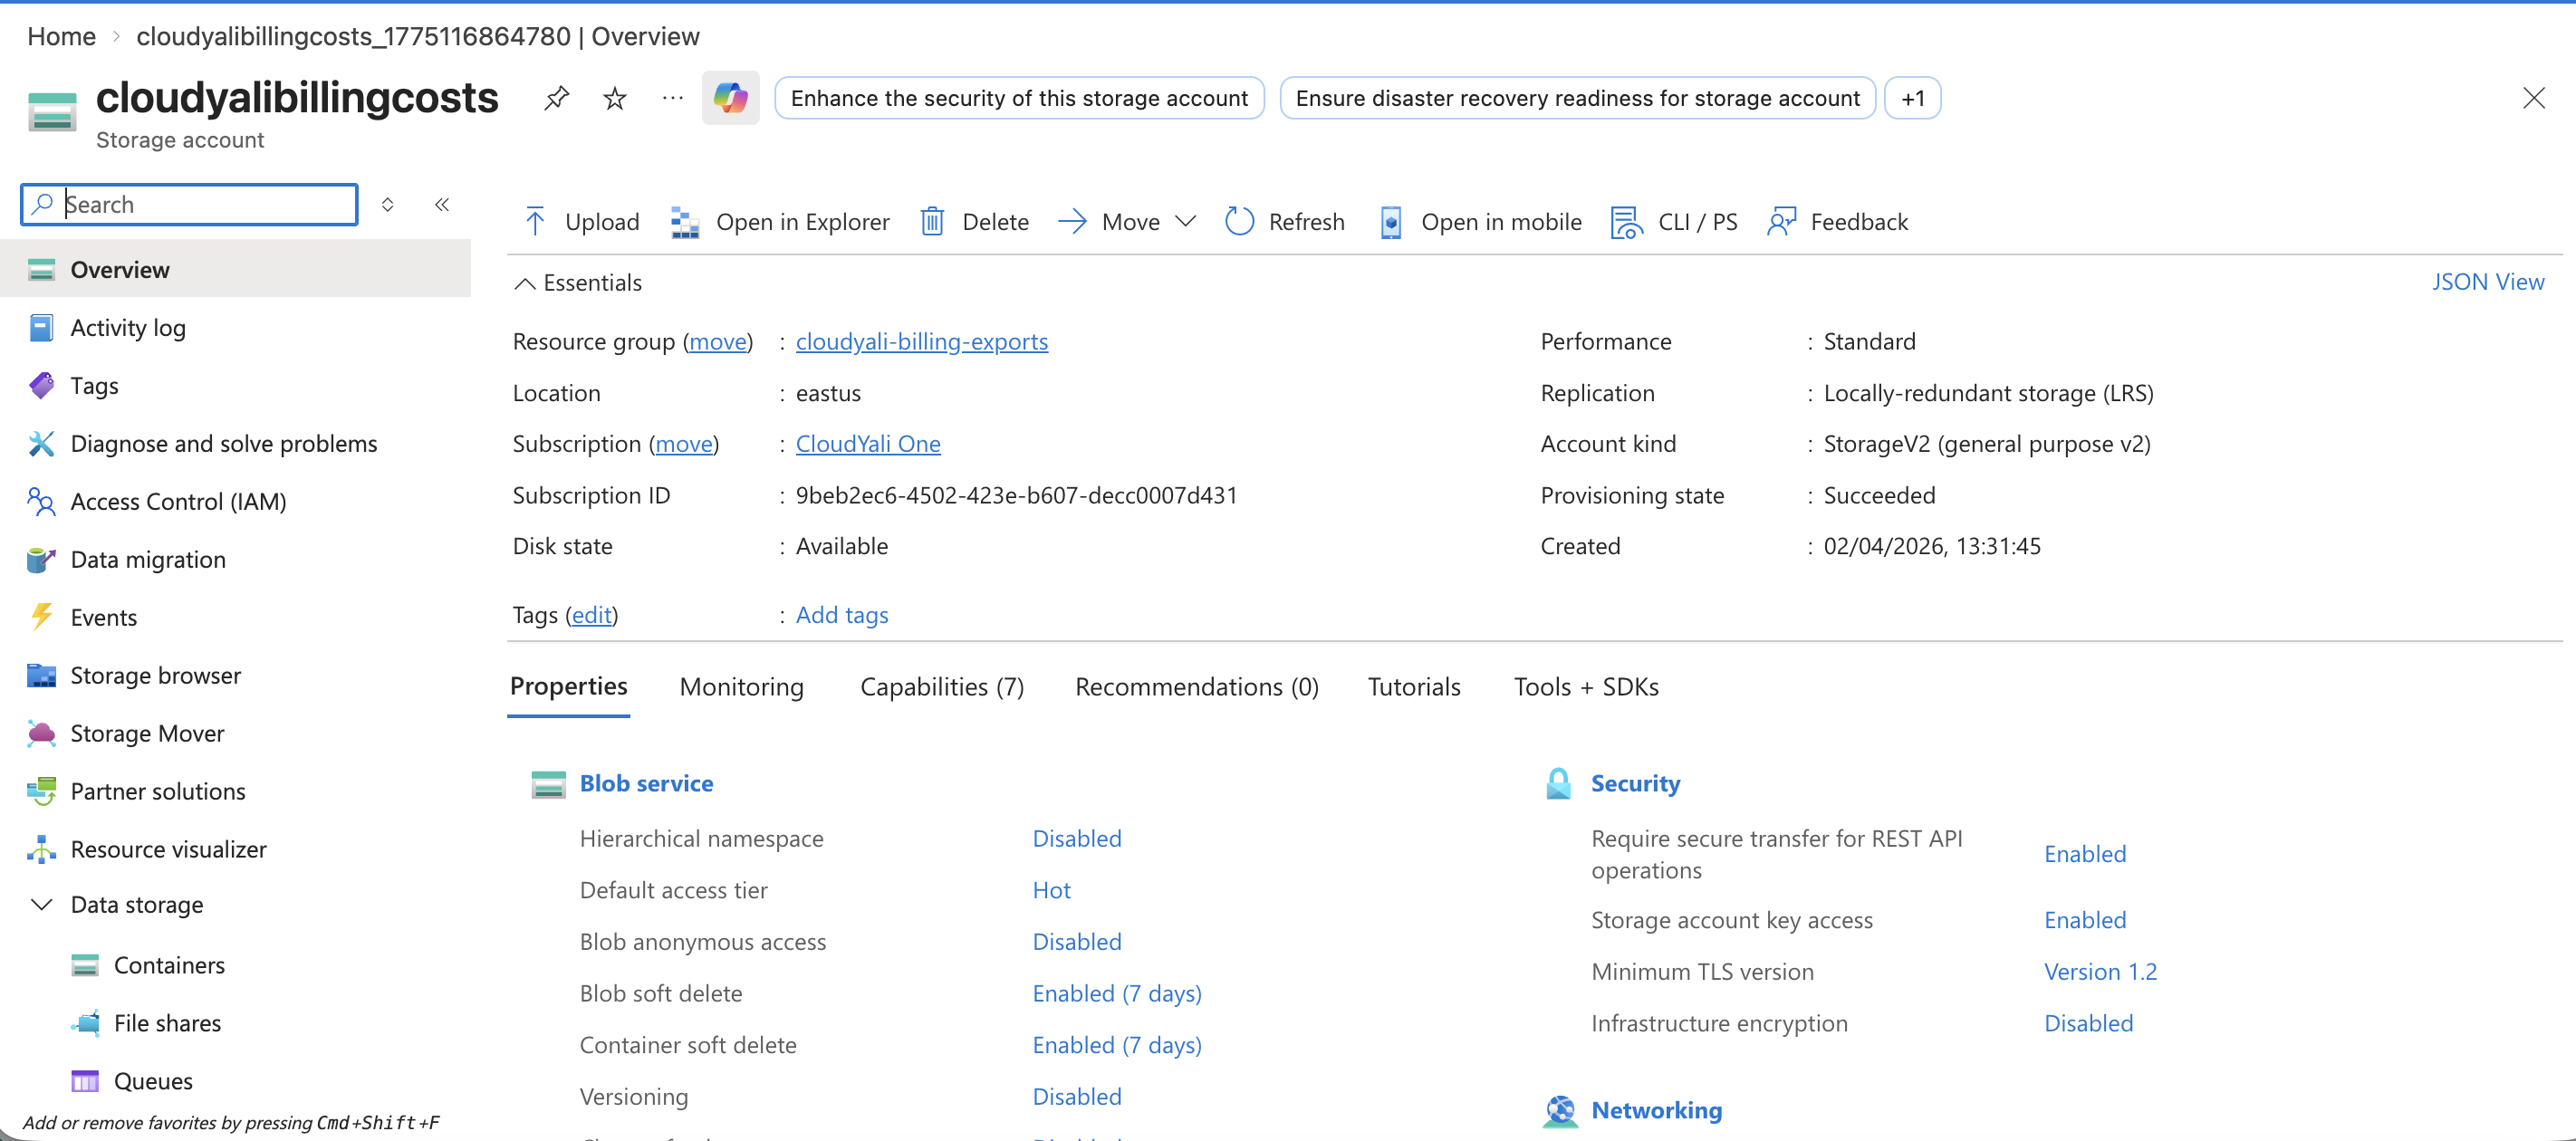
Save the storage account name - you'll need it later.
Step 2: Create Blob Container
- Go to the storage account you just created
- Click Containers in the left menu
- Click + Container
- Fill in:
- Name:
cost-exports - Public access level: Private
- Name:
- Click Create
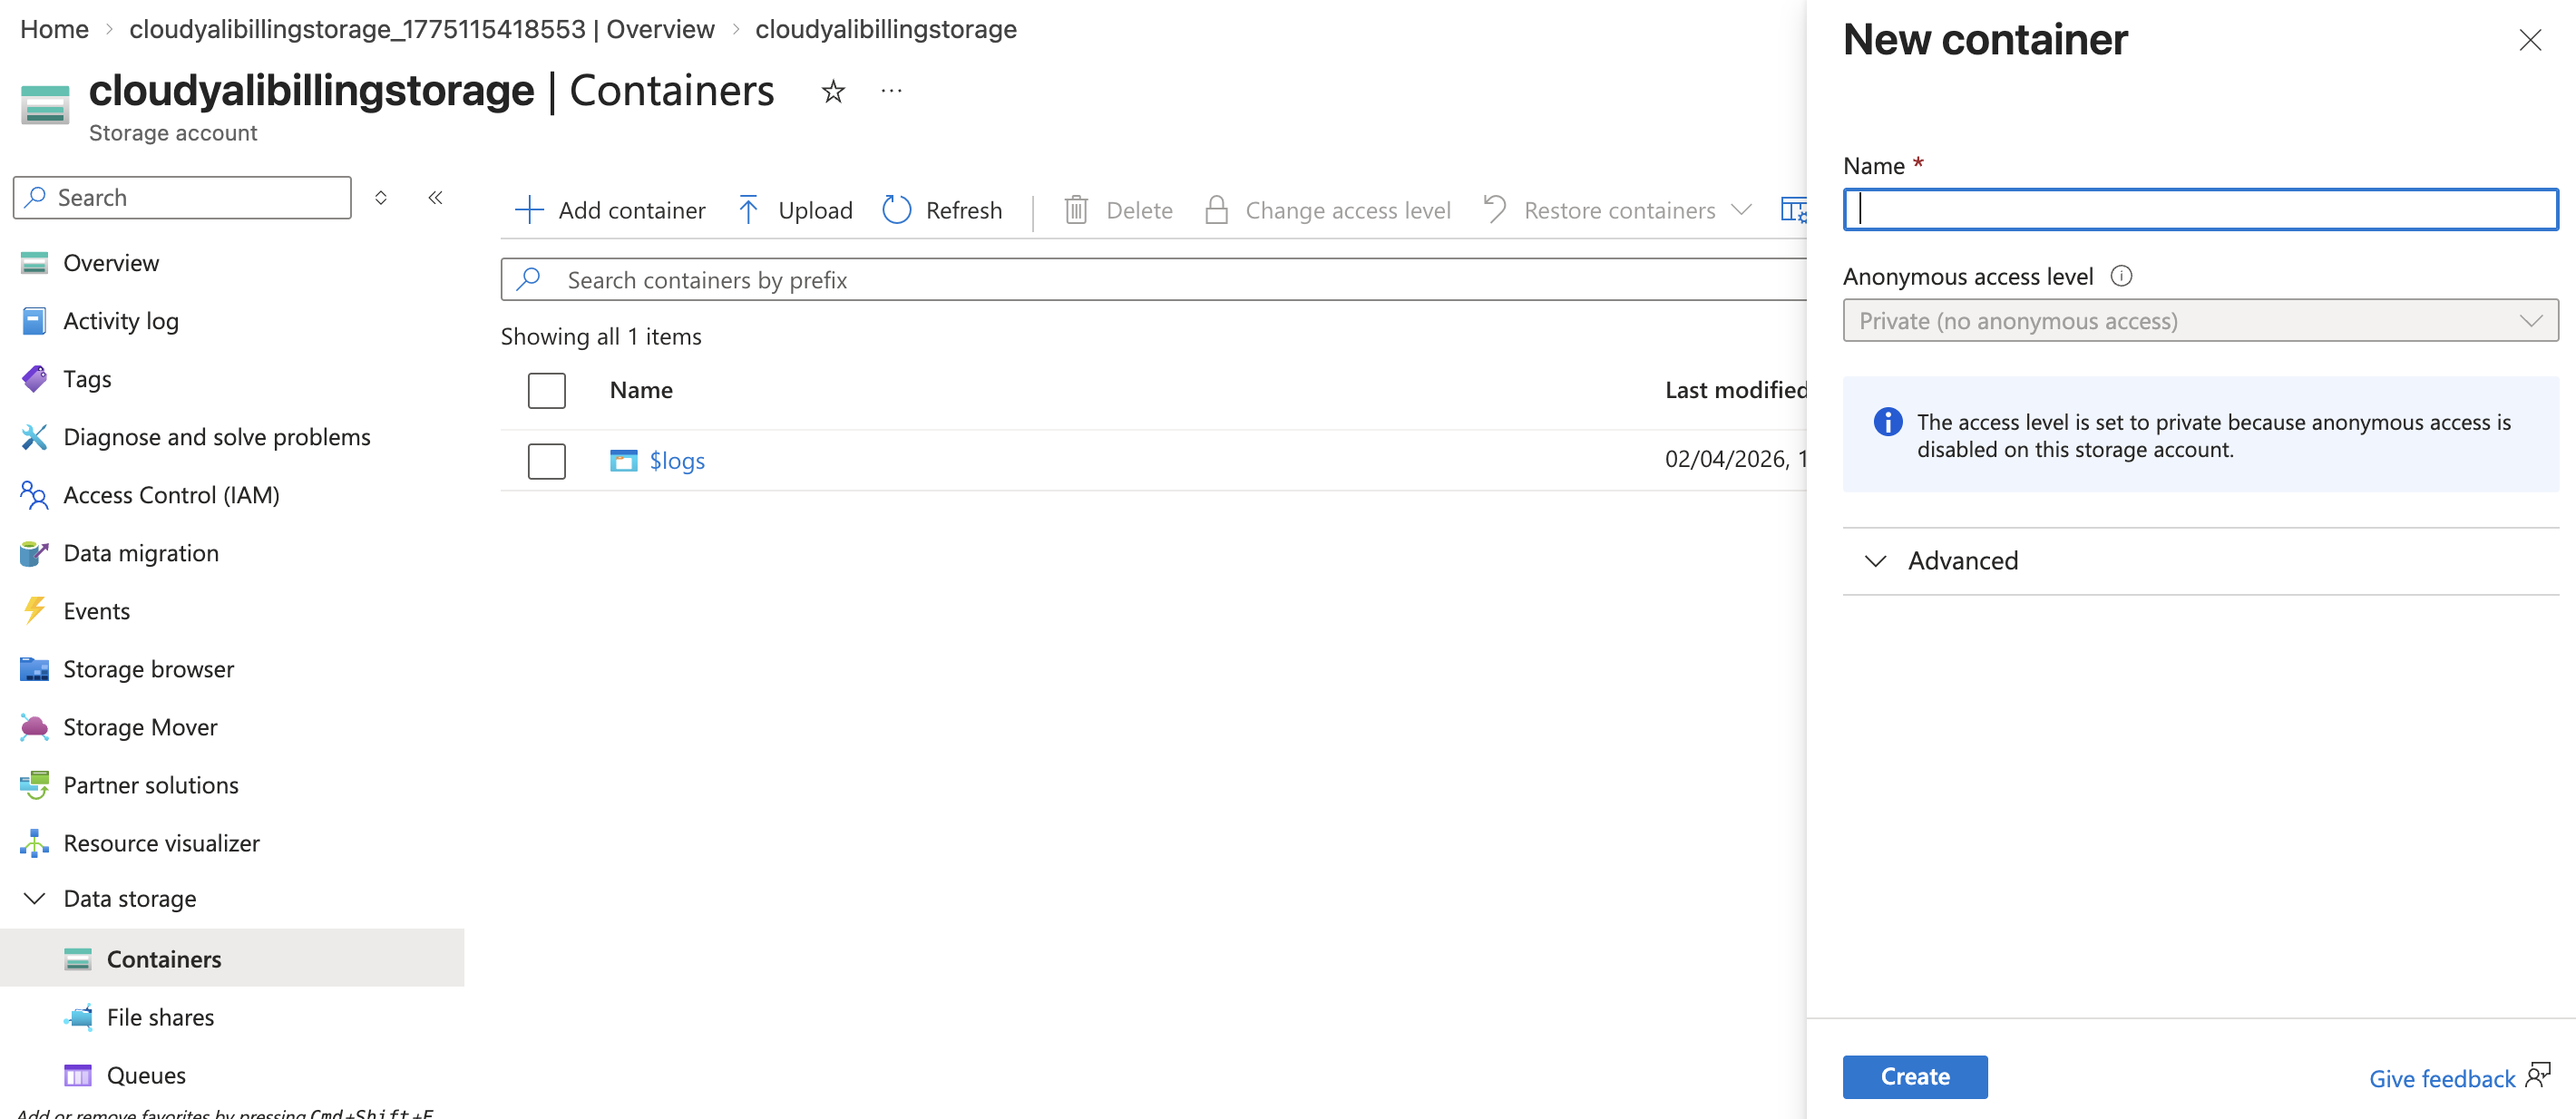
After creation, your container appears in the list:

Step 3: Configure Cost Management Export
Prerequisites (Account Type Specific):
For PAYG Accounts:
- No special prerequisites
For MCA Accounts:
- ⚠️ "Azure charges" setting must be enabled
- Go to Cost Management + Billing → Billing account properties
- Verify "Azure charges" is set to "Yes"
For EA Accounts:
- ⚠️ Enterprise Admin must enable "Account Owner (AO) view charges"
- Contact your Enterprise Admin if not enabled
Configure Export:
- Go to Cost Management + Billing
- Select your subscription (or billing account for MCA/EA)
- Click Exports under "Cost Management" in left menu
- Click + Add
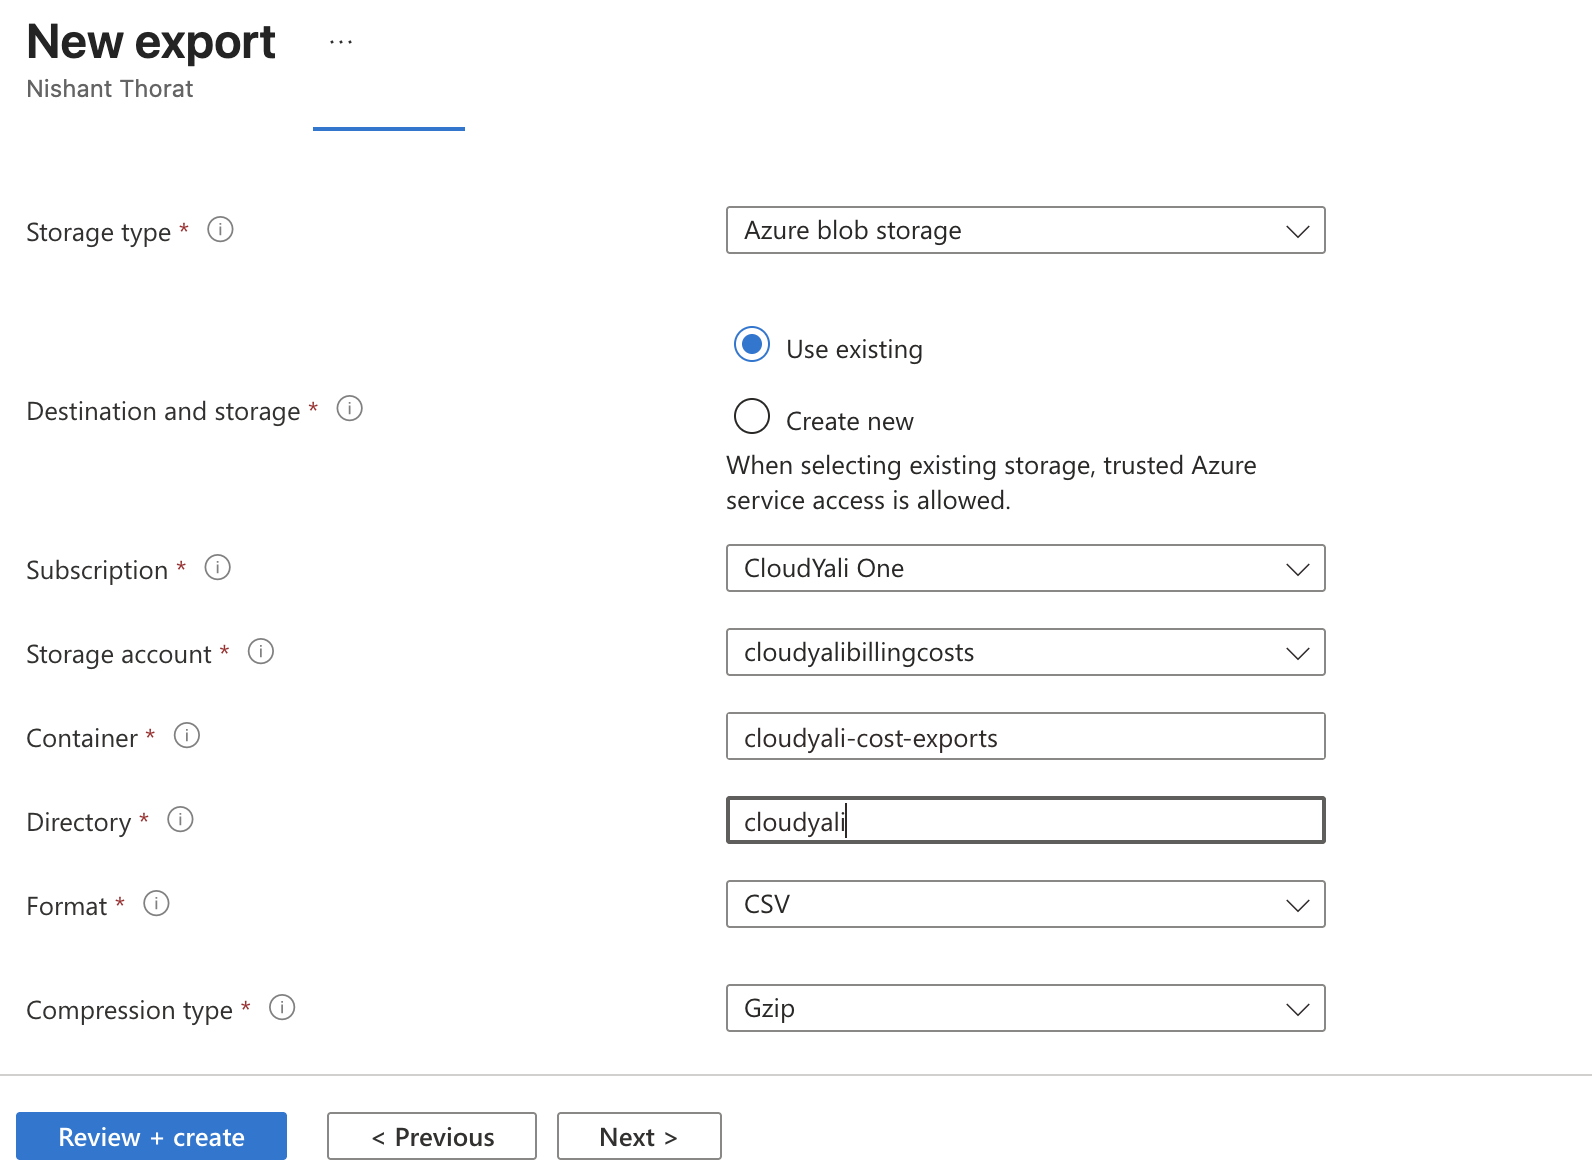
- Fill in the configuration:
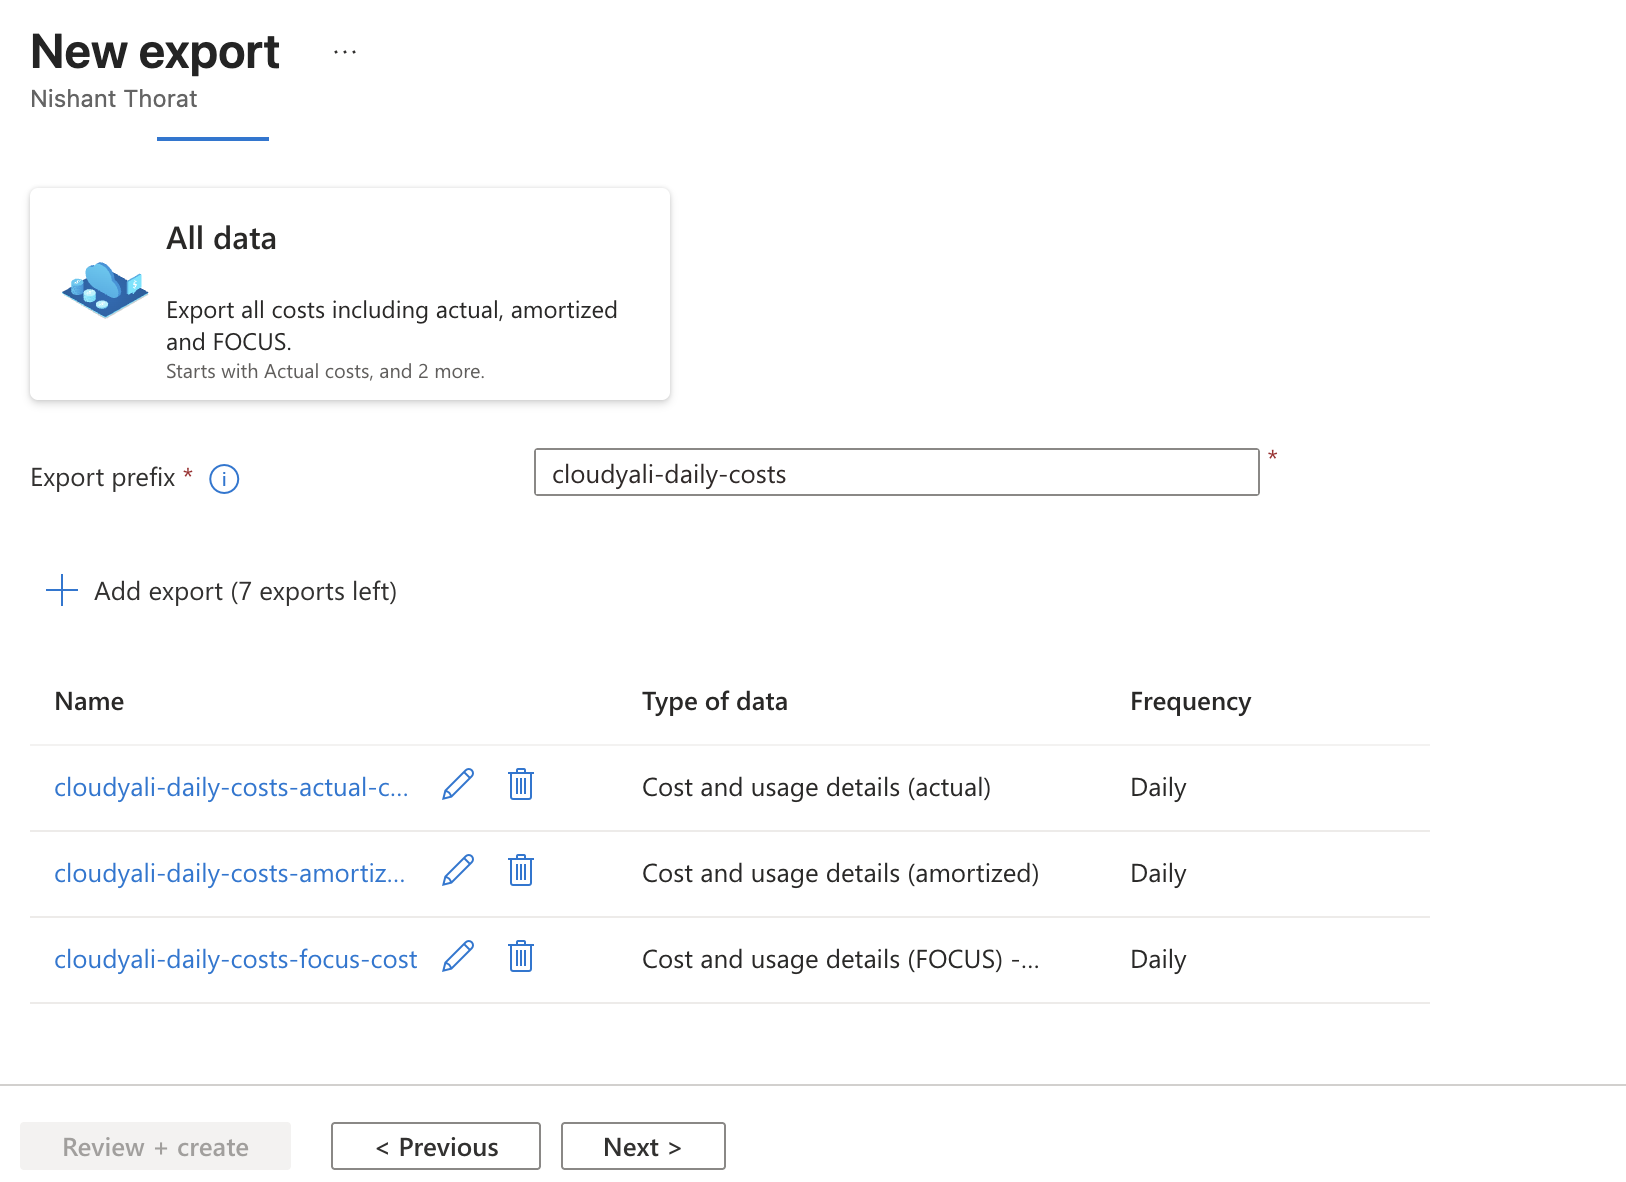
- Export name:
cloudyali-daily-costs - Export type: Daily export of month-to-date costs
- Start date: Today
- Storage account: Select the storage account you created
- Container:
cost-exports - Directory:
cloudyali(optional but recommended) - File format: CSV
- Compression: Gzip (optional but recommended)
- Export name:
- Click Create
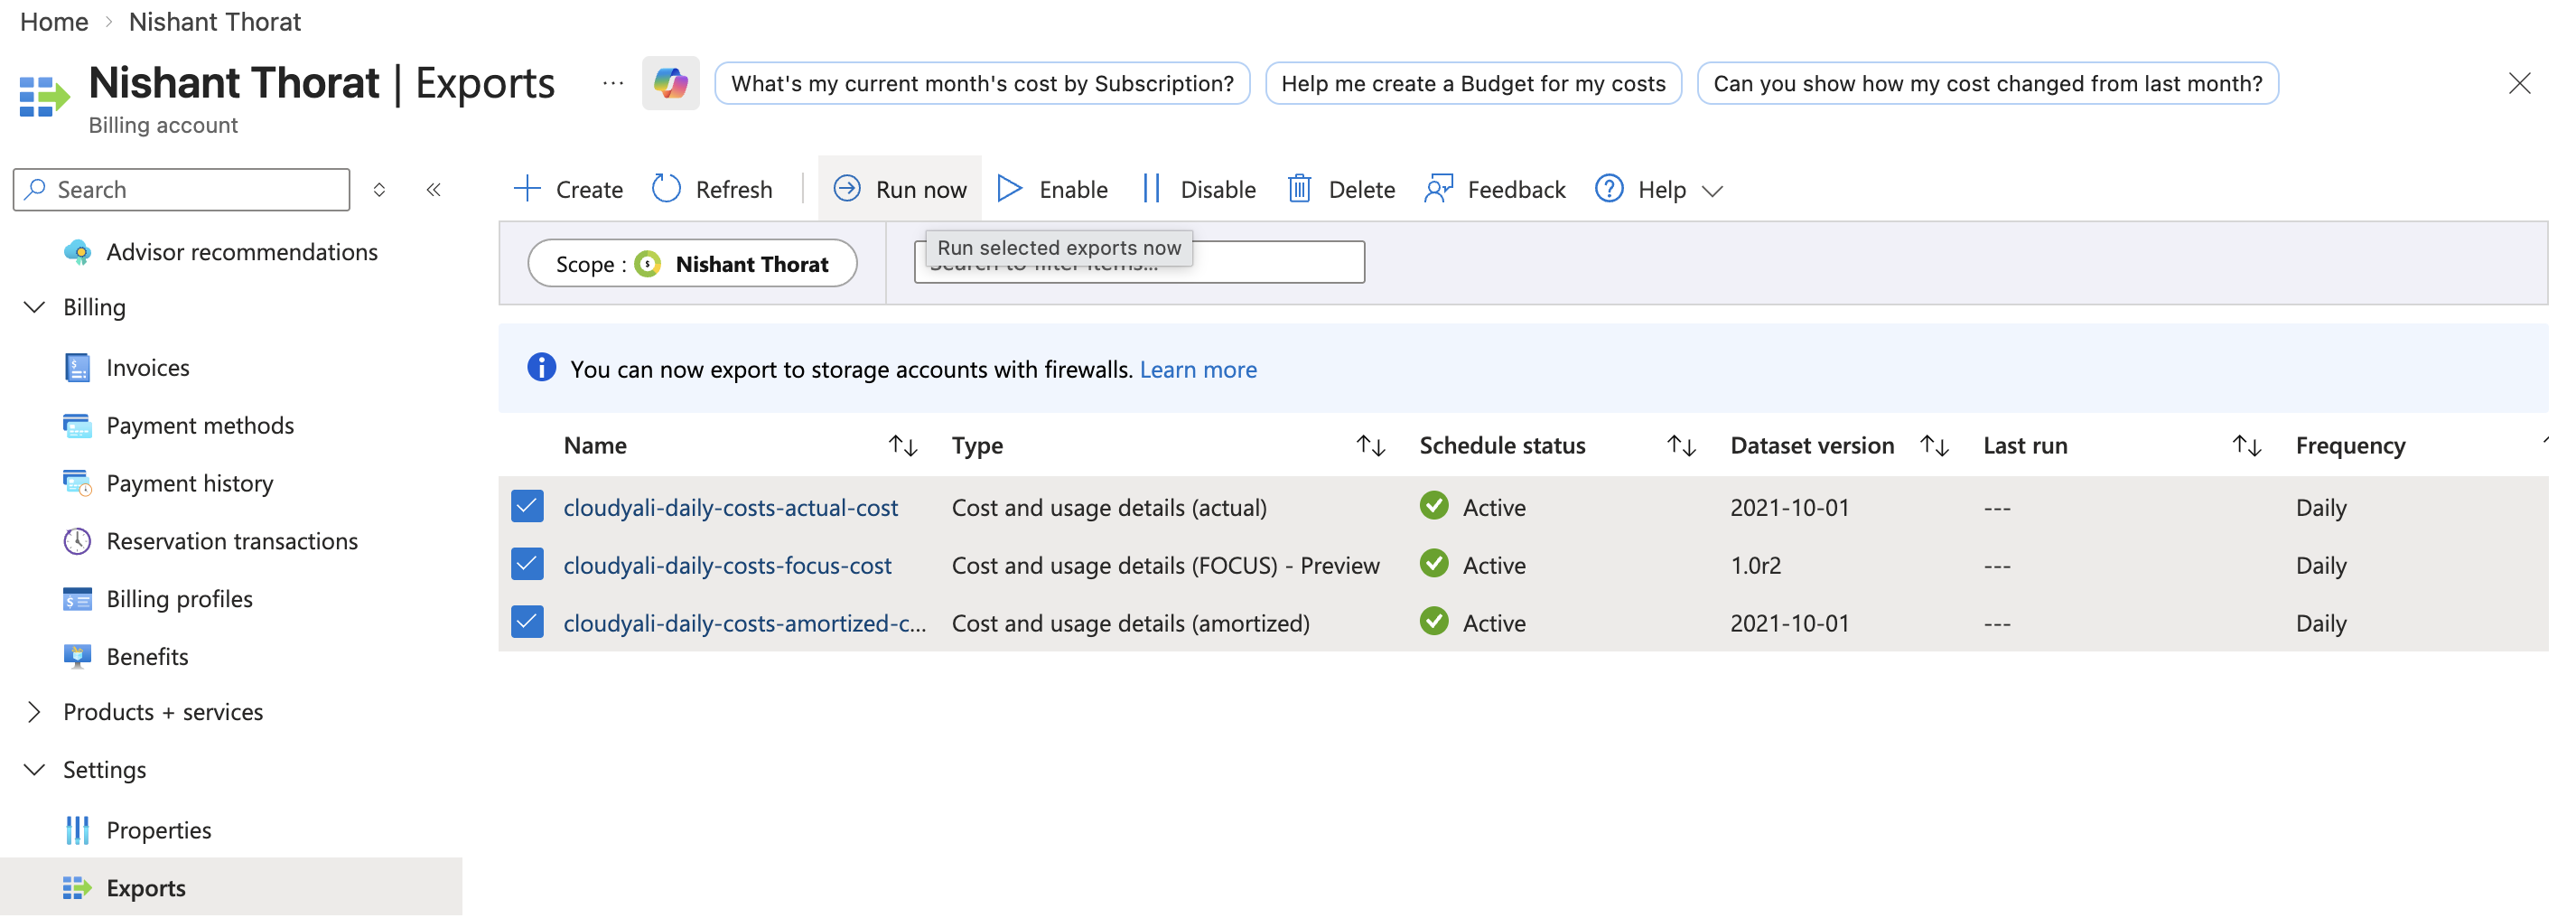
Run Initial Export (Optional but Recommended):
- Click the export you just created
- Click Run now
- This generates the first export immediately (instead of waiting until tomorrow)
Understanding Export Types: Actual vs Amortized Costs
When configuring your Cost Management Export, you'll choose between export types:
| Export Type | What it includes | Best for |
|---|---|---|
| Daily export of month-to-date costs | Actual (on-demand) costs as billed | Standard cost tracking, anomaly detection |
| Daily export of amortized month-to-date costs | Reservation and savings plan costs spread across benefiting resources | Chargeback, team-level cost allocation |
Our recommendation: Set up the actual costs export first (as described above). If you use Azure Reserved Instances or Savings Plans and need amortized cost views, create a second export with the amortized type pointing to the same container but a different directory:
cost-exports/
├── cloudyali/           # Actual costs (primary export)
└── cloudyali-amortized/ # Amortized costs (optional second export)
Azure does not include unused reservation costs in amortized views. If you need to track unused reservations for chargeback, contact support@cloudyali.io for guidance.
Step 4: Grant Storage Access to Service Principal
Now you need to give your Service Principal permission to read the exported files from storage.
Using Azure Portal:
- Go to the storage account
- Click Access Control (IAM)
- Click + Add → Add role assignment
- Select Storage Blob Data Reader role
- Under "Assign access to", select User, group, or service principal
- Search for
CloudYali-Billing(your service principal name) - Select it and click Review + assign
Using Azure CLI:
STORAGE_ACCOUNT_NAME="cloudyalicosts{yourname}"
RESOURCE_GROUP="cloudyali-exports"
CLIENT_ID="your-service-principal-client-id"

az role assignment create \
  --assignee $CLIENT_ID \
  --role "Storage Blob Data Reader" \
  --scope "/subscriptions/{subscription-id}/resourceGroups/$RESOURCE_GROUP/providers/Microsoft.Storage/storageAccounts/$STORAGE_ACCOUNT_NAME"
Step 5: Save Export Details
Save these details - you'll need them in CloudYali:
- ✅ Storage Account Name:
cloudyalicosts{yourname} - ✅ Container Name:
cost-exports - ✅ Export Name:
cloudyali-daily-costs - ✅ Directory Path:
cloudyali(if specified)
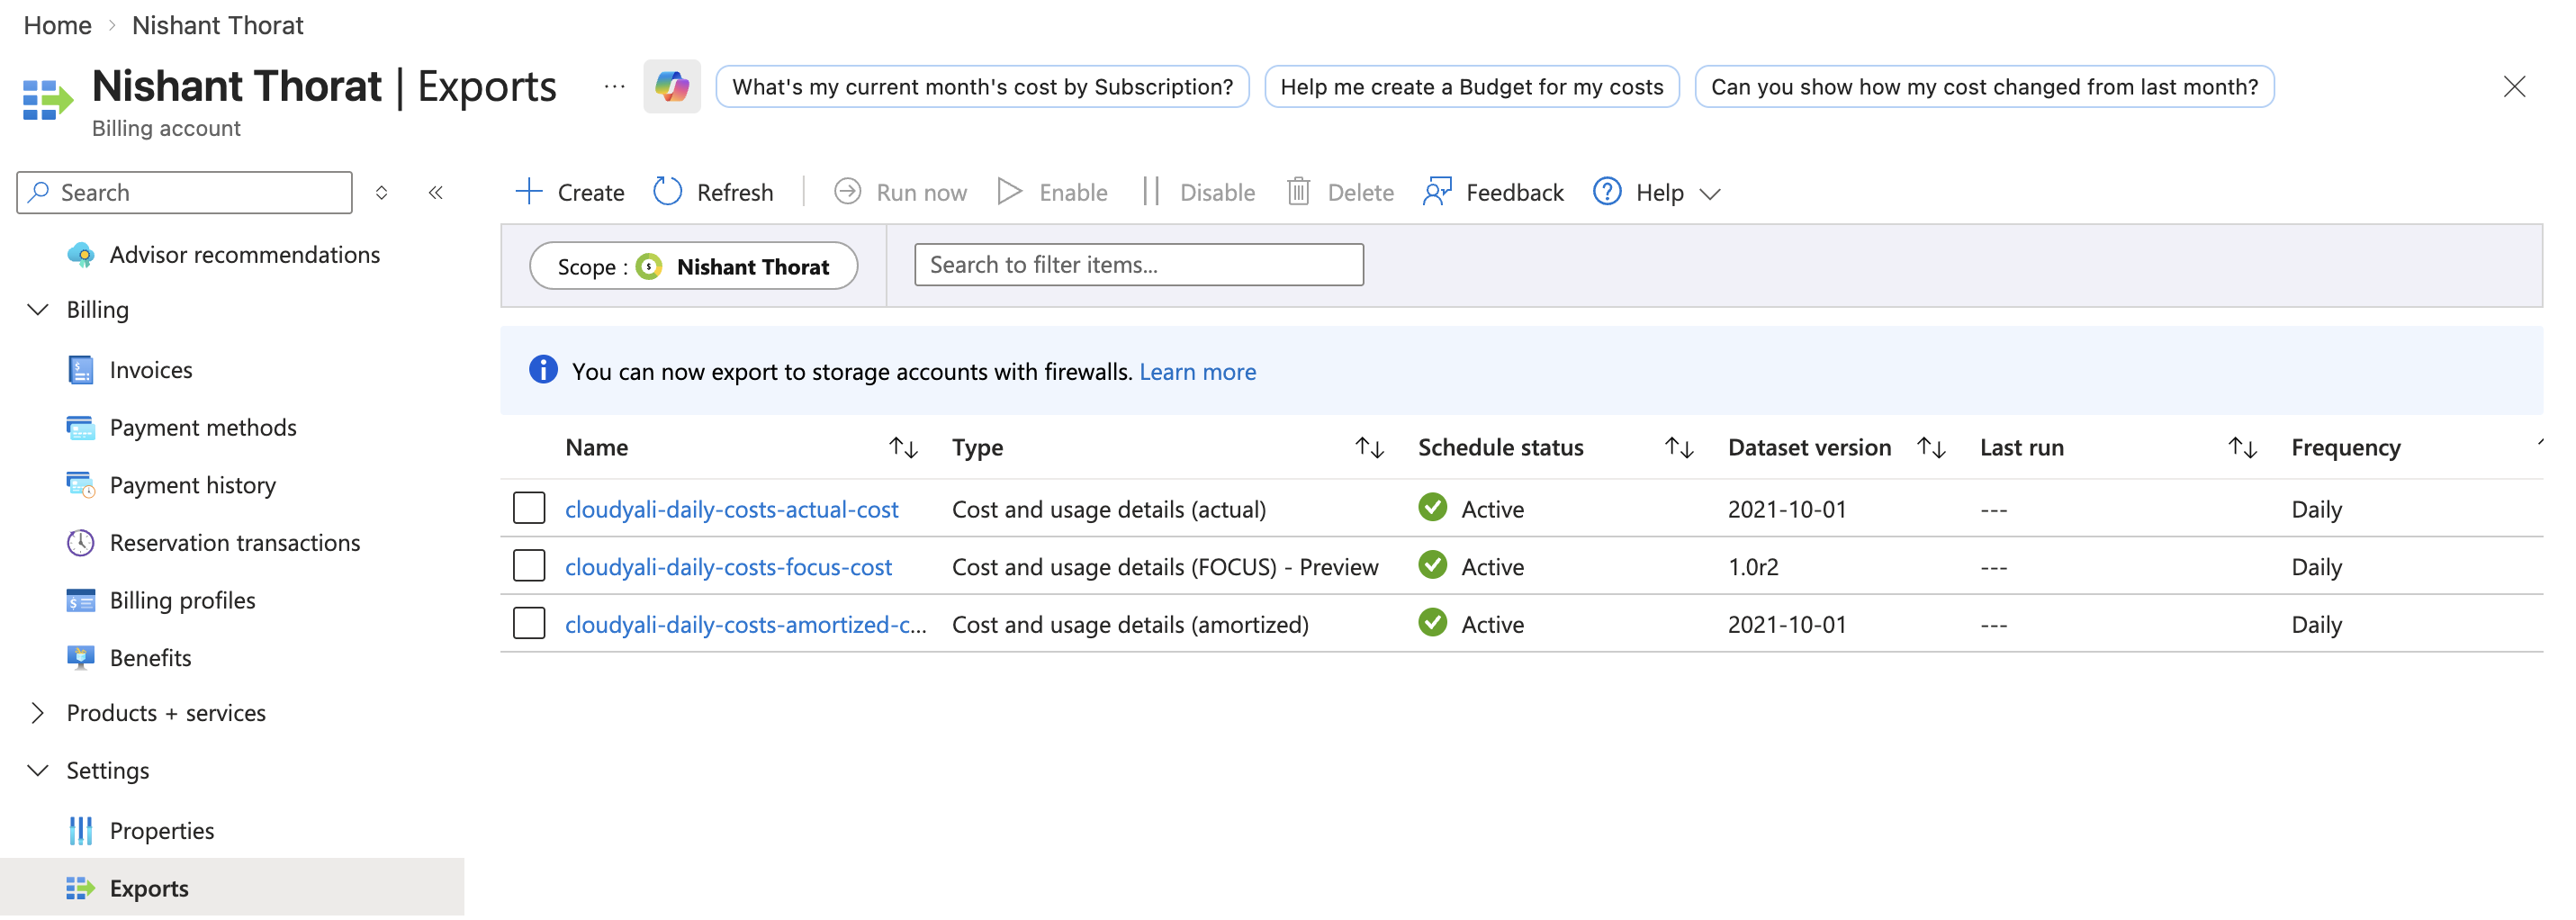
Verify Export is Working
After 24-48 hours, verify that exports are being generated:
- Go to Cost Management + Billing
- Click Exports
- Find your export and check:
- Status shows recent export timestamps
- Last run was successful
Optional: Check Files in Storage
- Go to your Storage Account
- Click Containers
- Click
cost-exports - You should see folders/files like:
cloudyali/(directory you specified)- Dated folders and CSV files inside
Troubleshooting
Issue: "No Export Files Generated After 24 Hours"
Solutions:
- Verify Cost Management export is configured and running
- Click the export and check the Run now option manually
- Check export frequency is set to "Daily"
- Verify export path matches what you'll enter in CloudYali
- For EA accounts, verify "AO view charges" is enabled by Enterprise Admin
Issue: "Permission Denied Reading Export Files"
Solutions:
- Verify Service Principal has Storage Blob Data Reader role
- Check storage account name in CloudYali matches Azure exactly
- Ensure the Service Principal was assigned the role (may take 5-10 minutes to propagate)
- Try using
Storage Account Contributorrole as alternative (more permissive)
Issue: "Export Path Not Found"
Solutions:
- Verify the directory path you specified in the export matches CloudYali configuration
- Files may not appear for 24-48 hours after export creation
- Run the export manually using "Run now" to generate initial files
Cost of Exports
Estimated Monthly Cost: $0.50 - $2.00
This covers:
- Storage account costs for hosting export files
- Blob storage read operations (when CloudYali accesses files)
- No additional data transfer costs (internal Azure transfer)
Next Steps
Once exports are configured:
- ✅ Storage account created
- ✅ Cost export configured with daily schedule
- ✅ Service Principal has access to storage
- ➡️ Continue to Adding Account to CloudYali
Remember:
- Initial data becomes available within 24 hours
- Full data sync may take 24-48 hours
- Anomaly detection becomes active after 7+ days of data