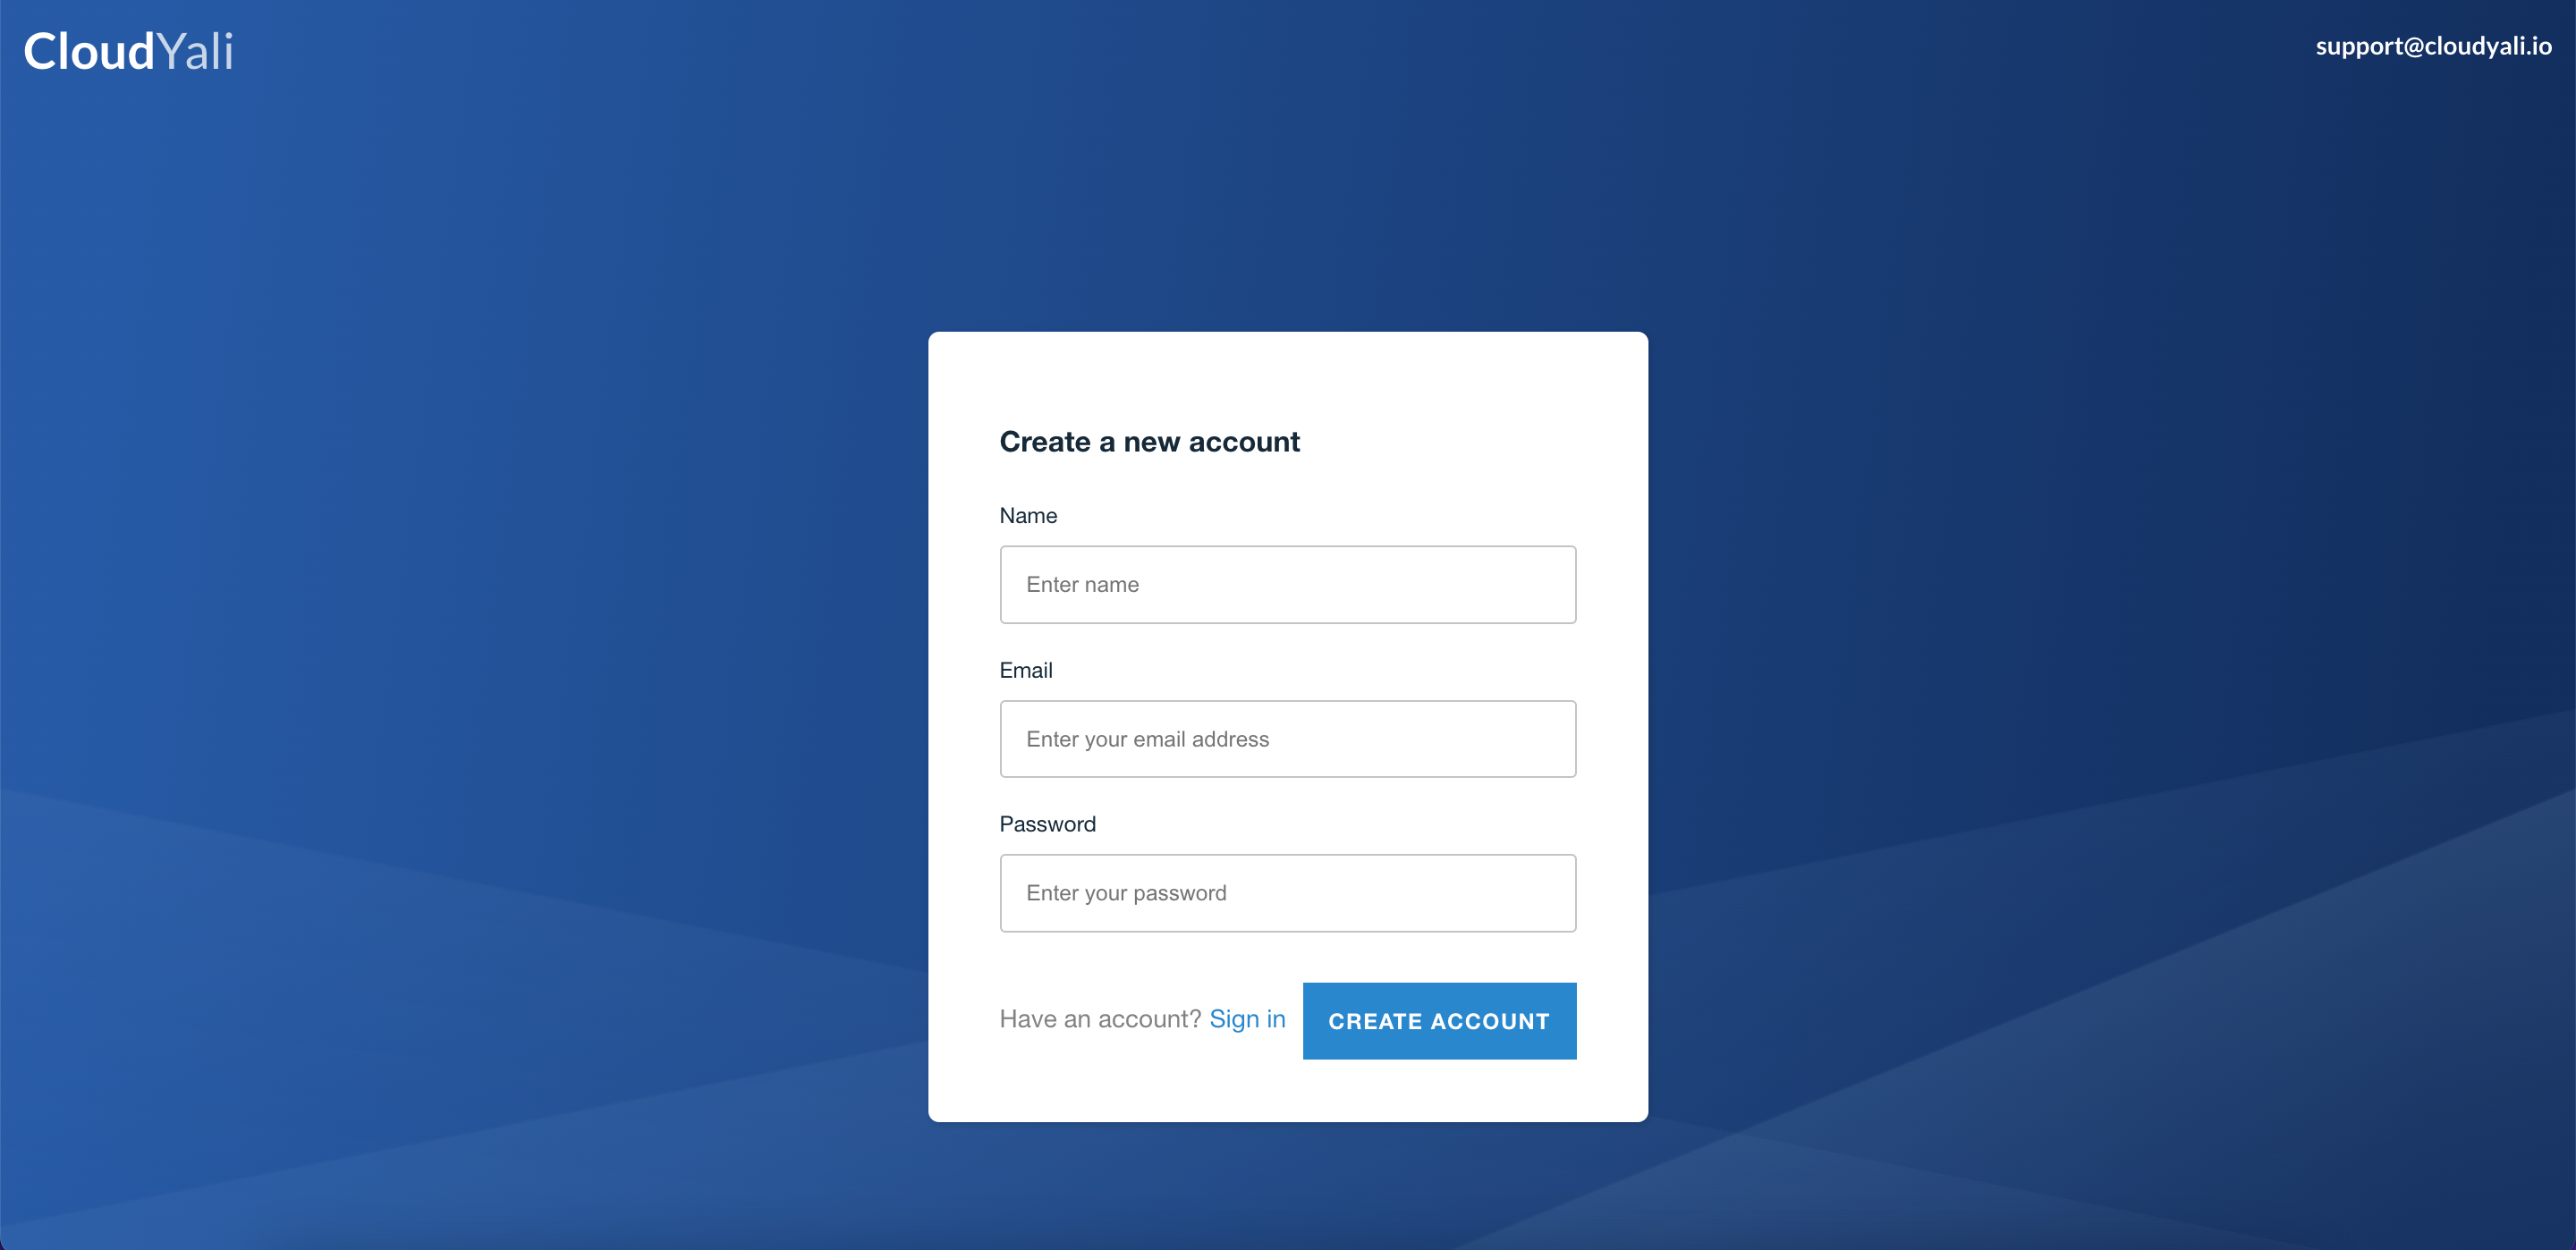
Signing Up for an Account
Welcome to CloudYali! We're thrilled to have you join us on your cloud cost management journey. Creating an account is quick and easy. This guide will walk you through the steps to get started with CloudYali.
Prerequisites
Before you begin, ensure you have:
- An active company email address: You'll need this to verify your account.
- Internet access: CloudYali is a web-based platform accessible via your browser.
- Supported Browser: We recommend the latest version of Chrome, Firefox, Safari, or Edge.
Step-by-Step Guide to Creating Your CloudYali Account
Step 1: Visit the CloudYali Website
-
Navigate to the CloudYali Homepage
Open your preferred web browser and go to https://www.cloudyali.io.
-
Click on "Sign Up" or "Start Free Trial"
- Locate the "Sign Up" or "Start Free Trial" button at the top right corner of the homepage.
- Alternatively, you can go directly to the sign-up page at https://console.cloudyali.io/signup.

Step 2: Fill Out the Registration Form
-
Enter Your Personal Information
- Name: Enter your full name.
- Email Address: Enter a valid email address you have access to.
- Password: Create a strong password following the guidelines below:
- At least 8 characters long.
- Includes uppercase and lowercase letters.
- Contains numbers and special characters.
-
Accept Terms and Conditions
- Review the Terms of Service and Privacy Policy.
-
Click "Create Account"
- After filling in all required fields, click the Create Account button.
Step 3: Verify Your Email Address
-
Check Your Inbox
- You'll receive a verification email from CloudYali at the email address you provided.
-
Open the Verification Email
- Subject line: "Welcome to CloudYali! - Your verification code"
- If you don't see the email within a few minutes, check your spam or junk folder.
-
Use the Verification Code
- Use the verification code in the email.
- This will confirm your email address and activate your account.
Step 4: Log In to Your New Account
-
Go to the Login Page
- Navigate to https://console.cloudyali.io/signin.
-
Enter Your Credentials
- Email Address: Enter the email you used during registration.
- Password: Enter the password you created.
-
Click "Sign In"
- You'll be directed to the CloudYali dashboard upon successful login.
Next Steps
Congratulations! You've successfully created your CloudYali account.
-
Onboard Your Cloud Accounts
- Start integrating your AWS and GCP accounts to begin monitoring and optimizing your cloud costs.
- Follow our Onboarding Cloud Accounts guide.
-
Explore the Platform
- After logging in, explore the platform's interface and features. For more information on using the dashboard and navigation, refer to the in-app help or other documentation sections.
Troubleshooting
Didn't Receive the Verification Email?
-
Check Spam or Junk Folders
- Sometimes emails may be filtered incorrectly.
-
Contact Support
- If you're still having issues, reach out to us at support@cloudyali.io.
Issues Logging In?
-
Forgot Password
- Click on the "Forgot Password?" link on the login page to reset your password.
-
Account Not Activated
- Ensure you've completed the email verification step.
Best Practices for Account Security
-
Use a Strong Password
- Combine letters, numbers, and special characters.
-
Regularly Update Your Password
- Change your password periodically to maintain account security.
Need Help?
We're here to assist you in getting the most out of CloudYali.
-
Email Support
- Contact us at support@cloudyali.io for personalized assistance.
© 2026 CloudYali. All rights reserved.